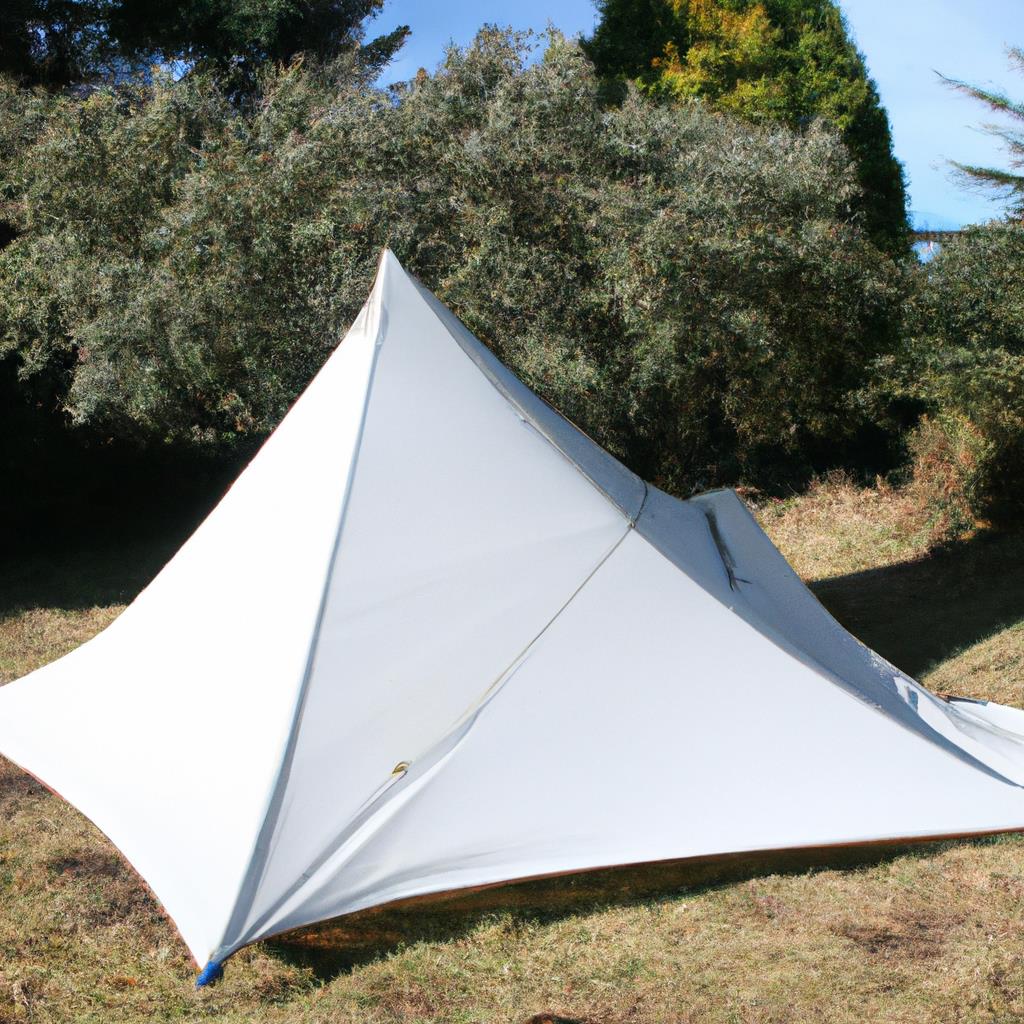
Camping is a wholesome outdoor activity that is enjoyed by many people around the world. It allows individuals to connect with nature, unplug from the hustle and bustle of daily life, and spend quality time with loved ones. One of the essential components of camping is setting up a tent at your chosen campsite. In this article, we will guide you through the process of setting up a tunnel tent at your camping site.
Before embarking on your camping trip, make sure you have all the necessary equipment ready. This includes your tunnel tent, tent poles, stakes, guy lines, hammer, and a groundsheet. Also, familiarize yourself with the instructions for setting up your specific tunnel tent, as different models may have slightly different assembly processes.
Once you arrive at your chosen campsite, survey the area to find the best spot to set up your tunnel tent. Look for a flat and level piece of ground that is free from any rocks, sticks, or other sharp objects that could damage your tent. Additionally, consider the direction of the wind and position your tent so that the opening faces away from the wind.
Start by laying out your groundsheet on the chosen spot to protect the bottom of your tent from moisture and damage. Next, unpack your tunnel tent and lay it out flat on top of the groundsheet. Locate the entrance of the tent and position it in the desired direction.
Now, its time to assemble the tent poles. Most tunnel tents come with pre-connected poles that simply need to be threaded through the corresponding sleeves on the tent fabric. Start by connecting the poles together and then carefully feed them through the sleeves. Make sure the poles are properly inserted and secure in place.
Once the tent poles are in position, lift them up to create the tunnel shape of the tent. As you do this, ensure that the fabric is properly tensioned and the poles are straight and not bent. Secure the tent poles at the ends by attaching them to the tent fabric using clips or hooks, as specified in the instructions.
Next, stake down the corners of the tent to keep it in place. Use a hammer to drive the stakes into the ground at a slight angle, ensuring they are secure and will not come loose during windy conditions. Make sure the tent is taut and secure before moving on to the next step.
Now, its time to secure the guy lines. Guy lines are additional cords that help stabilize the tent and prevent it from being blown away by strong winds. Locate the guy line attachment points on the tent and securely tie the guy lines to them. Pull the guy lines out at a 45-degree angle from the tent and stake them into the ground, ensuring they are tight and taut.
Finally, double-check all the connections, stakes, and guy lines to make sure everything is secure and properly set up. Make any necessary adjustments to ensure the tent is stable and ready for occupancy. Once you are satisfied with the setup, its time to bring in your camping gear and make yourself at home inside the tunnel tent.
Setting up a tunnel tent at your chosen campsite may seem like a daunting task, but with the right preparation and methodical approach, it can be a simple and enjoyable experience. Follow the steps outlined in this article and refer to the instructions provided with your tent to ensure a successful setup. Remember to choose a suitable campsite, protect your tent with a groundsheet, assemble the tent poles correctly, stake down the corners, secure the guy lines, and double-check the setup before enjoying your camping adventure in the great outdoors.


leave a comment